Getting ready to output image for printing from Illustrator...
First set the general units of measure to inches by clicking:
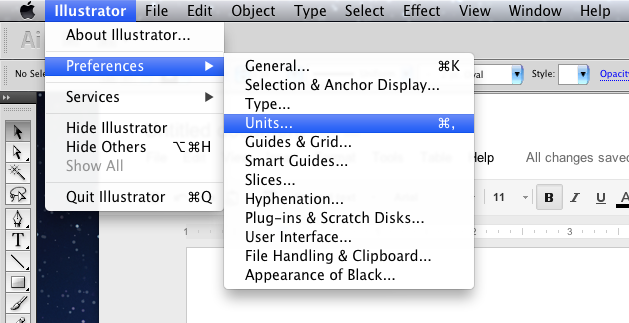
Illustrator -> Preferences -> Units...
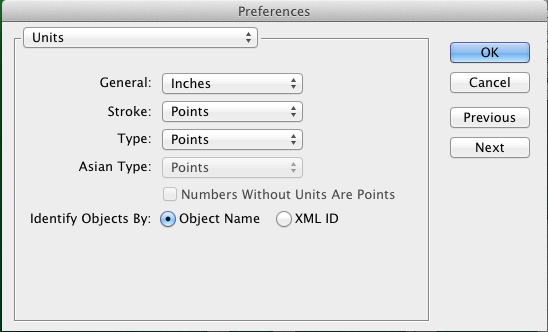
This Window should pop up. Change General from Points to Inches. Hit OK.
Hit Shift+Command+A to deselect all objects. This will chnage the options bar at the top of the page so that it shows this:![]()
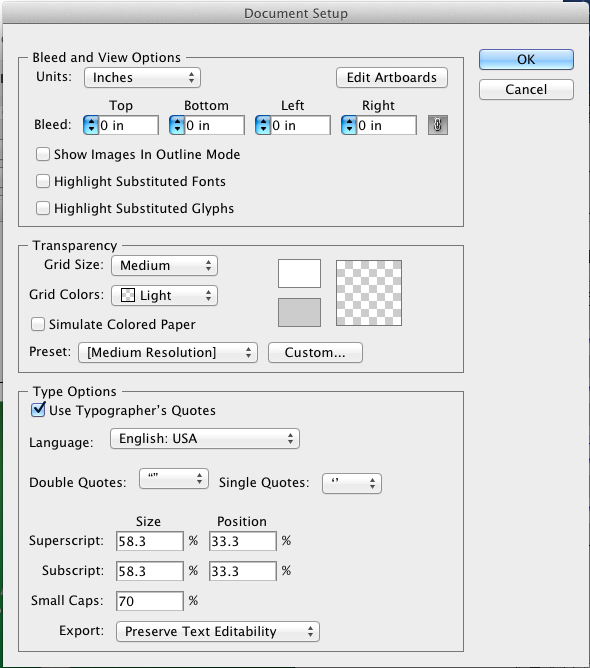
Click on Document Setup. This will open a window. Choose Edit Artboards.
This will change the Option Bar at the top of the page and you will see this:![]()
Set W: and H: to the width and height in inches that you wish to print at. For Assignment 4 the minimum is 11x14 or 14x11. Now click on the Selection tool. This will allow you to exit Document Setup mode. Hit Command+A. This will select everything in your Illustrator file. Scale everything up until it fills the page. Now would be a good time to save your file.
You are ready to export. Navigate to File->Export...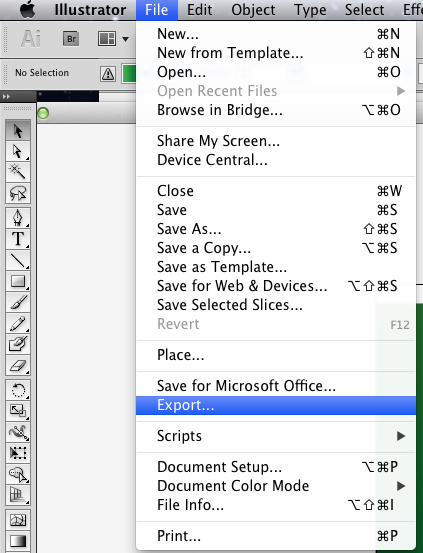
This window should open:
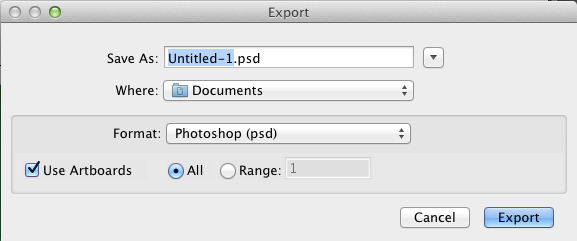
Make sure the settings are identical to those above. Click Export. The window below should open. Again copy all the settings. Hit OK.

You have successfully prepared your Illustrator file for Printing! Open the .psd file in Photoshop just to make sure that nothing is wrong. It is easy to forget to click the Use Artboards checkbox when exporting. If your image has a big white bar on one side, or if areas you expected to have cut off appear in Photoshop you probably forgot to click this checkbox.
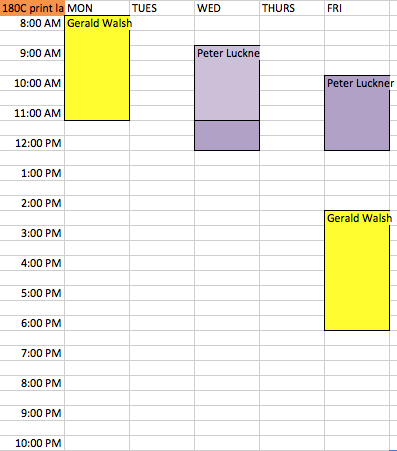
Here is the schedule for the printer: